Understanding Vapor Barrier Installation
What is a Vapor Barrier?
A vapor barrier is a material designed to impede the passage of moisture through walls, floors, and ceilings. Commonly utilized in basements and crawl spaces, it plays a critical role in maintaining dry air and preventing moisture-related issues within the home. Typically made from polyethylene plastic, vapor barriers are characterized by their durability and resilience against moisture absorption. This crucial home component ensures that humidity is kept at bay, thereby promoting a cleaner and healthier living environment.
Importance of Vapor Barrier Installation
The importance of Vapor Barrier Installation cannot be overstated. Moisture can lead to numerous problems, including mold growth, structural damage, and pest infestations. By preventing moisture intrusion, vapor barriers help protect your home’s foundation and framing from deterioration, which can be costly to repair. Furthermore, a proper installation enhances the overall energy efficiency of your home, contributing to lower utility bills and improved indoor comfort.
Common Materials Used
Various materials are used in vapor barriers, with high-density polyethylene (HDPE) being the most widely recommended. Other materials include reinforced polyethylene sheeting and foil-faced insulation. Each option has its unique properties and benefits suited to different environments and needs. For instance, foil-faced options are excellent for applications requiring additional insulation properties, while HDPE is favored for its robustness and moisture resistance.
Preparing for Vapor Barrier Installation
Assessing Your Crawl Space
Before proceeding with vapor barrier installation, it’s crucial to thoroughly assess your crawl space. Identify existing moisture sources such as leaks or drainage issues. Ensuring your crawl space is dry and free of obstacles will facilitate a smoother installation process. Look for signs of standing water or mold, which indicate the urgent need for moisture control measures to be implemented before the installation of the vapor barrier.
Gathering the Right Tools
Successful vapor barrier installation requires specific tools to ensure efficiency and effectiveness. Key tools include a tape measure for accurate sizing, utility knives or scissors for cutting the barrier, a stapler or adhesive for securing the material, and safety gear like gloves and knee pads. Assembling these tools prior to starting the project can eliminate delays and frustrations during installation.
Safety Precautions
When installing a vapor barrier, safety should always be a priority. Wearing gloves and knee pads prevents injuries while crawling around dirty or damp spaces. Ensure proper ventilation in the crawl space to avoid inhaling harmful mold spores or chemicals. If you’re working with an older home, consider potential hazards like asbestos. Lastly, discussing your plans with a professional can provide further insights into safety precautions specific to your home environment.
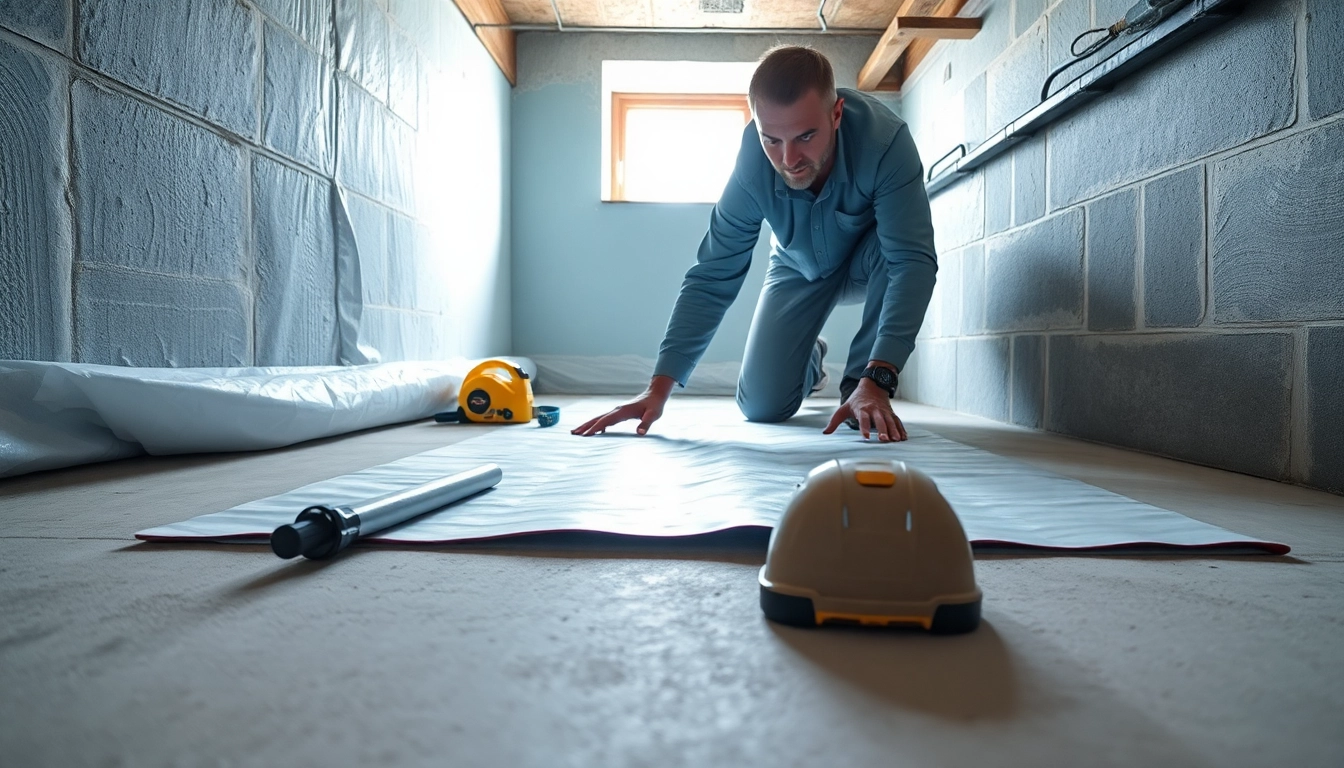
Steps for Proper Vapor Barrier Installation
Cleaning the Crawl Space
The first step to achieving effective vapor barrier installation involves cleaning the crawl space. Remove debris, old insulation, and any organic matter that could promote mold growth. This also includes sweeping or vacuuming the area to eliminate dust and dirt accumulation. A clean surface ensures that the vapor barrier adheres properly and functions effectively against moisture.
Measuring and Cutting the Barrier
Once the crawl space is cleaned, take precise measurements of the area where the vapor barrier will be installed. Cut the vapor barrier material to size, allowing it to cover the entire ground surface and extend up the walls slightly. It’s essential to make these measurements carefully to avoid seams and ensure complete coverage, as any gaps can lead to moisture issues under the barrier.
Securing the Vapor Barrier
With the vapor barrier cut to size, it’s time to secure it in place. Overlap seams by at least 12 inches and use vapor barrier tape or adhesive to seal them effectively. Attach the barrier to the walls using a staple gun, ensuring that it adheres firmly and securely. If installing in a high-humidity area, consider using additional means of sealing, such as construction adhesive, to enhance the barrier’s effectiveness.
Common Mistakes to Avoid in Vapor Barrier Installation
Neglecting to Measure Correctly
One of the most common mistakes in vapor barrier installation is inadequate measurement. Failing to measure properly can lead to either too much or too little material being used, resulting in exposure to moisture. Always double-check your measurements and consider allowing a generous overlap when cutting the material.
Ignoring Moisture Levels
It’s vital not to ignore underlying moisture levels in your crawl space before installation. Proper moisture assessment can inform whether installation is necessary or if additional steps are needed prior to installing a vapor barrier. Failure to address significant moisture problems can lead to mold development and damage your vapor barrier, defeating its purpose.
Inadequate Sealing Techniques
Improper sealing can render even the best vapor barrier ineffective. Ensure that all seams are adequately overlapped and secured, preventing moisture from seeping through. Utilize quality materials for securing the barrier, and don’t overlook potential entry points, such as plumbing fixtures and utility lines, which may require additional sealing.
FAQs about Vapor Barrier Installation
How do I know if I need a vapor barrier?
If your crawl space feels damp, has mold growth, or has poor ventilation, a vapor barrier may be necessary. Assessing these conditions will help determine the need for moisture control.
What materials are best for vapor barriers?
High-density polyethylene (plastic) is commonly used for its durability and moisture resistance, making it an excellent choice for vapor barriers in various environmental conditions.
Can I install a vapor barrier myself?
Yes, if you’re comfortable with DIY projects, but it’s important to follow safety guidelines and instructions carefully, ensuring a correct installation to avoid future issues.
Will a vapor barrier help with energy efficiency?
Yes, it can reduce moisture, preventing mold growth and improving the overall energy efficiency of your home through better temperature regulation and reduced HVAC workload.
How often should I replace my vapor barrier?
Inspect your vapor barrier regularly. If you notice tears or mold, it may need replacement every 5-10 years to maintain its effectiveness and protect your home.